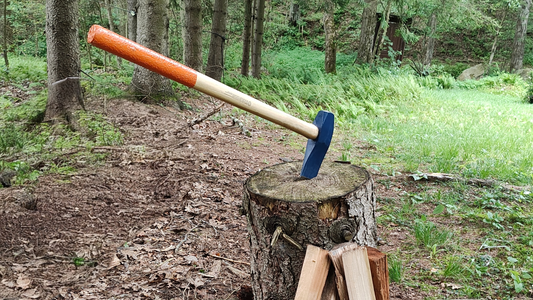
Blacksmithing is an art that demands precision and the right tools. To achieve the best results, it's essential to properly dress your tools before use. Dressing your tools involves smoothing out any hard edges, removing imperfections, and ensuring that the striking surfaces are perfectly suited for working with metal. In this guide, we'll walk you through the steps to dress your ball pein hammers, sledgehammers, and cross & straight pein hammers.

Why Dress Your Tools?
New hammers often come with hard factory edges and minor imperfections on their striking surfaces. These can leave unwanted marks and patterns on your workpiece, affecting the quality of your metalwork. Dressing your tools ensures a smooth, polished finish on your projects and extends the lifespan of your tools.
Tools You’ll Need
- Bench grinder or angle grinder
- Sandpaper (various grits)
- Polishing wheel or buffing pad
- Safety glasses and gloves
- Clamps or a vise
Dressing a Ball Pein, Cross & Straight Pein, and Sledge Hammer
Step 1: Inspect & Secure the Hammer
Examine the hammer head for any hard edges, burrs, or imperfections. Clamp the sledgehammer in a vise to keep it stable during the dressing process.
- With Ball Pein Hammers: Pay close attention to the flat face and the rounded pein.
- With Cross and Straight Pein Hammers: Check both the cross pein and the flat face for any sharp edges or imperfections.

Step 2: Grind the Edges
Use a bench grinder or angle grinder to gently remove the hard edges around the flat face and pein. Aim for a slightly rounded edge to prevent the hammer from leaving marks on your workpiece.
- When working on a sledgehammer: Pay close attention to creating a smooth and even striking face. Be consistent with the pressure to maintain a balanced edge.

Step 3: Smooth the Face & Polish
After grinding, switch to sandpaper. Start with a coarse grit to remove any remaining imperfections and then move to finer grits for a smooth finish. Sand in a circular motion to ensure an even surface.
For the final touch, use a polishing wheel or buffing pad to give the hammer face a mirror-like finish. This step not only enhances the appearance but also ensures that the hammer strikes cleanly without leaving unwanted marks.

Final Tips
Regular Maintenance: Periodically check your hammers for any new burrs or wear and dress them as needed to maintain optimal performance.
Safety First: Always wear safety glasses and gloves when using grinders and polishers to protect yourself from flying debris.
Quality Tools: Invest in high-quality tools like those offered by Warwood Tool to ensure durability and ease of dressing.
By taking the time to dress your tools properly, you'll achieve better results in your blacksmithing projects and extend the life of your hammers. Happy forging!


